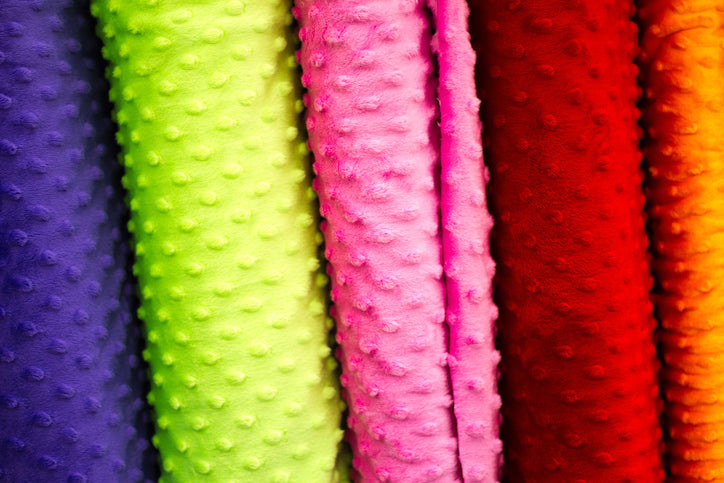
Minky makes for some really fun projects. It's versatile and can be used to make blankets, home accessories, and even clothing. You've probably seen it used to make baby blankets and Lovies.
Minky is designed to resemble Mink's Fur and has a very luxurious hand. It drapes beautifully and has a lovely sheen. These defining characteristics are why Minky is so difficult to sew. Thankfully, with the proper tools and a few tricks, sewing Minky can be an enjoyable experience.
Let's get started.
1.) When buying Minky...buy more. It has a distinctive nap, so patterns must be cut according to the "nap layout", meaning more fabric will be used.
2.) Pay close attention to the care instructions listed the bolt. Generally, you can machine wash in cold water and machine dry on low. However, some Minky is, "Dry Clean Only".
3.) If you must iron, press the wrong side, set to low heat, and always use a pressing cloth.
4.) Avoid "bargain" Minky. It may look nice on the bolt, it quickly loses its silky texture and shine. Considering the amount of effort you'll put into sewing Minky, you might as well invest in a quality brand.
5.) When cutting Minky, be prepared for a mess; it produces a lot of fuzz bunnies. Also, I recommend only cutting one layer at a time. If you intend to cut two layers at a time, place a sheet of tissue paper between the layers.
6.) Use a Walking Foot, a 90/14 Ballpoint Needle, All Purpose Polyester Thread, and a ton of long pins or Wonder Clips.
7.) For the best seam, increase your stitch length to 3.0 and decrease your stitch tension. You can use a straight stitch, a zig-zag stitch, or a stretch stitch.
8.) Hand-baste tricky seams. You'll also have better results if you stay-stitch curves before sewing at the machine.
9.) If your seam looks "wavy", try reducing your pressure gauge.
10.) Minky doesn't fray, so you don't have to finish the raw edges. However, raw edges do tend to "curl". If the curl is bothering you, finish the edges with a zig-zag stitch, an overcast stitch, or even with a serger. If you use a serger, you'll have to deep clean your machine once your project is finished.
11.) Stabilize your closures and high-stress stress. For instance, if you're adding buttons or zippers, use a light-weight stabilizer. Shoulder seams would need a strip of ribbon or rick-rack. Crotch areas should be reinforced with a second seam.
12.) When embroidering Minky, use a sticky-back stabilizer on the bottom so as to "float" the Minky instead of hooping it. Always use a clear, water-soluble stabilizer on top.
If you have any comments or questions, be sure to leave them in the comment section below. Happy Sewing!


