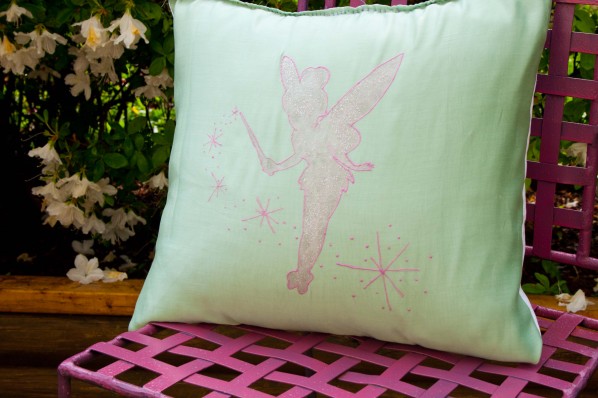
Freezer paper is terrific for making stencils. Perhaps you've used freezer paper for applique or quilting. Or maybe you've never used it before. Either way, we're going to show you how to make your own fabric stencils step-by-step. You can transfer your designs on to t-shirts, pillows, blankets - any fabric you want. I love Glow in the Dark paint and thought my friend's daughter would go nuts for a Glow in the Dark Tinker Bell. After all, who doesn't want to see Tinker Bell right before they fall asleep?
It's tons of fun, so let's jump right in!
Supplies
Freezer Paper
Fabric Paint (I used Glow in the Dark fabric paint)
X-Acto Knife
Design to be transferred
Tracing tool
Glitter (optional)
Step 1
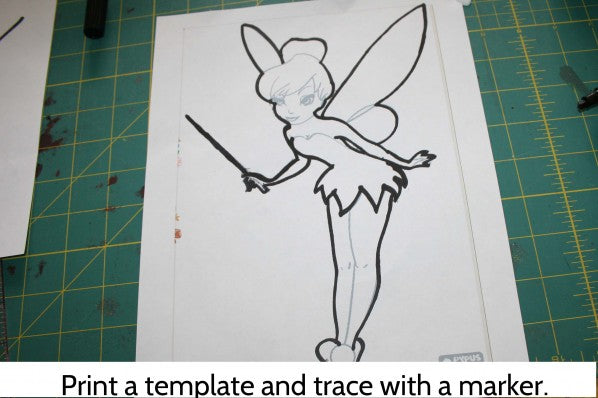
Browse through Google images to find a stencil you like. I recommend typing 'coloring book' or 'stencil' after to find a good template. For instance, I searched "Tinker Bell Coloring Page" in Google images to find my template. First trace the outside likes of the stencil on the computer paper. Then, trace the image on the matte side of your freezer paper.
Step 2
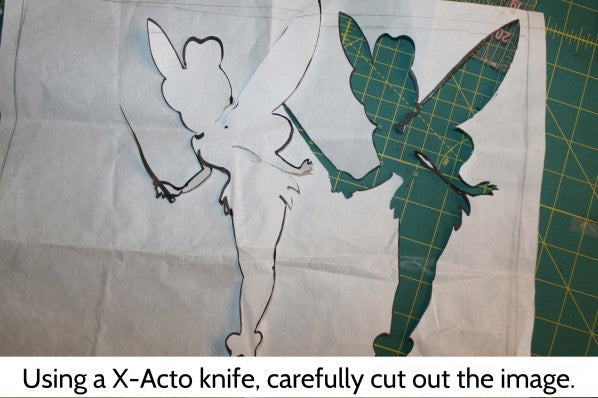
Using a X-Acto knife, carefully cut out the image along the outside lines. If this is your first time using a X Acto knife, I would practice cutting out the computer paper stencil a few times first. It can definitely get a little frustrating.
Step 3
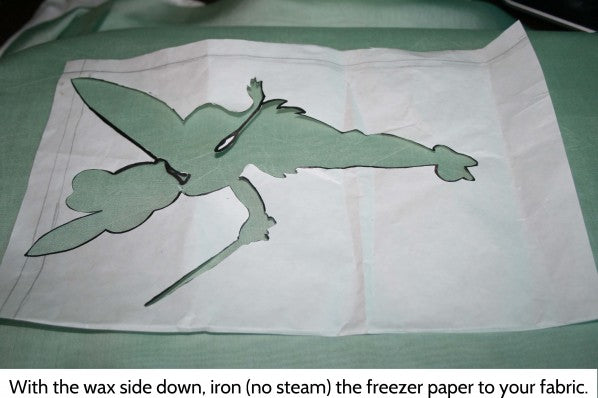
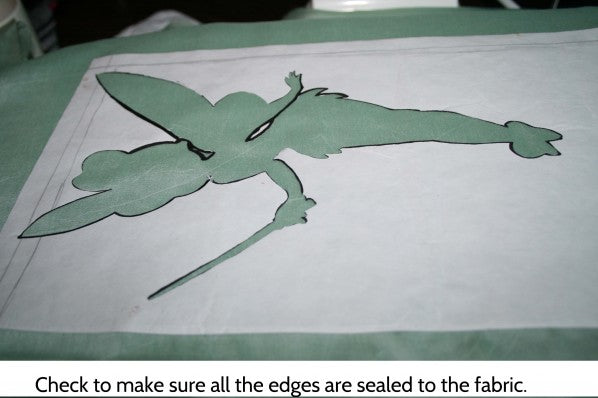
With the wax side down, press the freezer paper on your fabric. Make sure not to use any steam. Press for about 10 seconds.
Check to make sure all the edges are sealed to the fabric.
Step 4
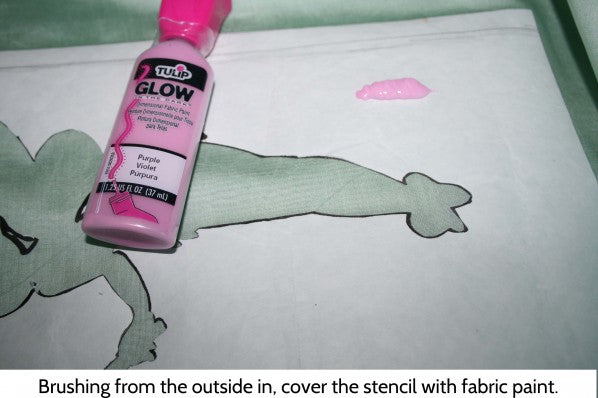
Fill in the stencil with fabric paint. If using Glow in the Dark paint, you may have to use many layers of paint. Also, you will need to charge the paint in direct sunlight for 10 minutes after applying.
When applying the fabric paint, brush from the outside edges inward. This prevents any paint from getting pushed under the paper.
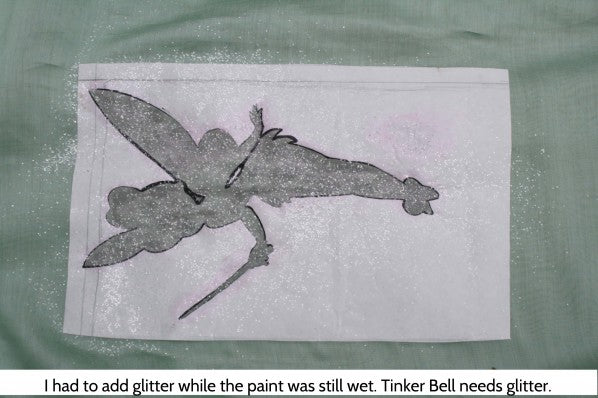
I had to add some white glitter. I just can't help myself.
Step 5
Gently peel the freezer paper off your fabric. It should come up easily with nice, crisp edges.
If you are using Glow in the Dark paint, outline the stencil with a thin line of paint for definition. Wait for it to dry, and repeat. After each coat, charge the paint in the sun for 10 minutes.


