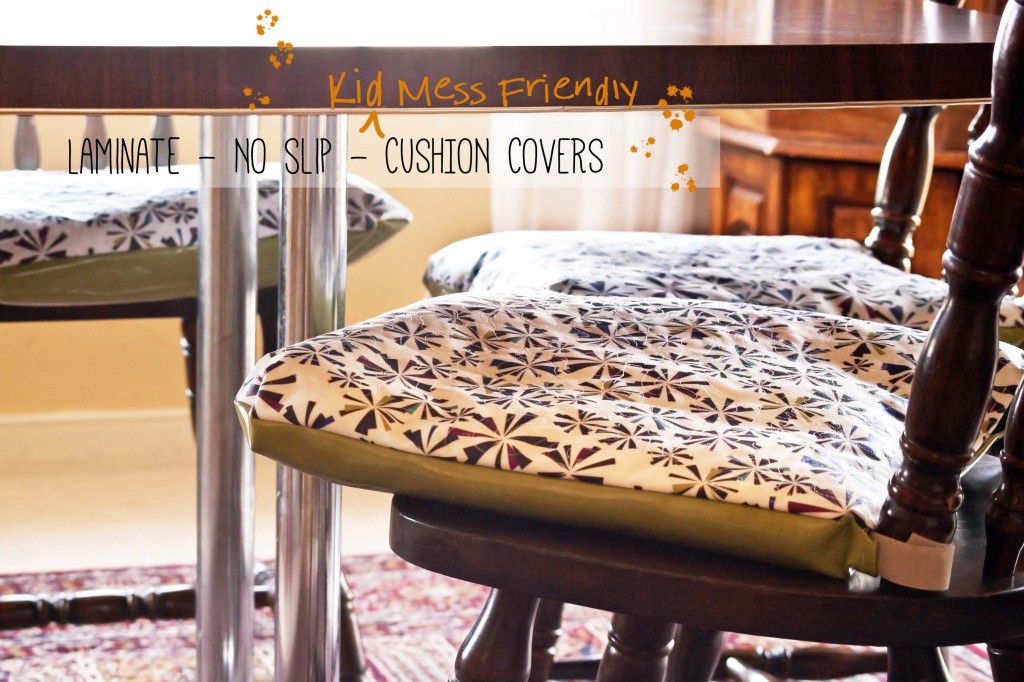
Do you have a budding artists? Is your child an aspiring chef or chemist? Or maybe, like my child, yours eats 10% of his food and wears the rest. We would sit down for a meal and my heart would break a little more each time. Why, oh WHY do I have light linen chair cushions while my 3 year old is still trying to master self-feeding. So, when I saw some bright colored laminated and oilcloth type fabric on clearance, I ran straight for the cutting counter with cushion covers in mind.
Simple, fast, and Clorox wipe safe, these cushion covers won't let you down. The overextended edge is guaranteed to catch falling food, splattered paint, or anything else that could violate your carpet/floors. The bottom fabric (sort of like oilcloth) is super sticky when pressure is applied, whereas the linen cushions would constantly shift. I got a little ambitious with mine and practiced free motion quilting. You can completely skip the quilting part if you don't have time. The fabric type means no hemming, just make sure you have either a rolling foot, Non-Stick foot, or walking foot around.
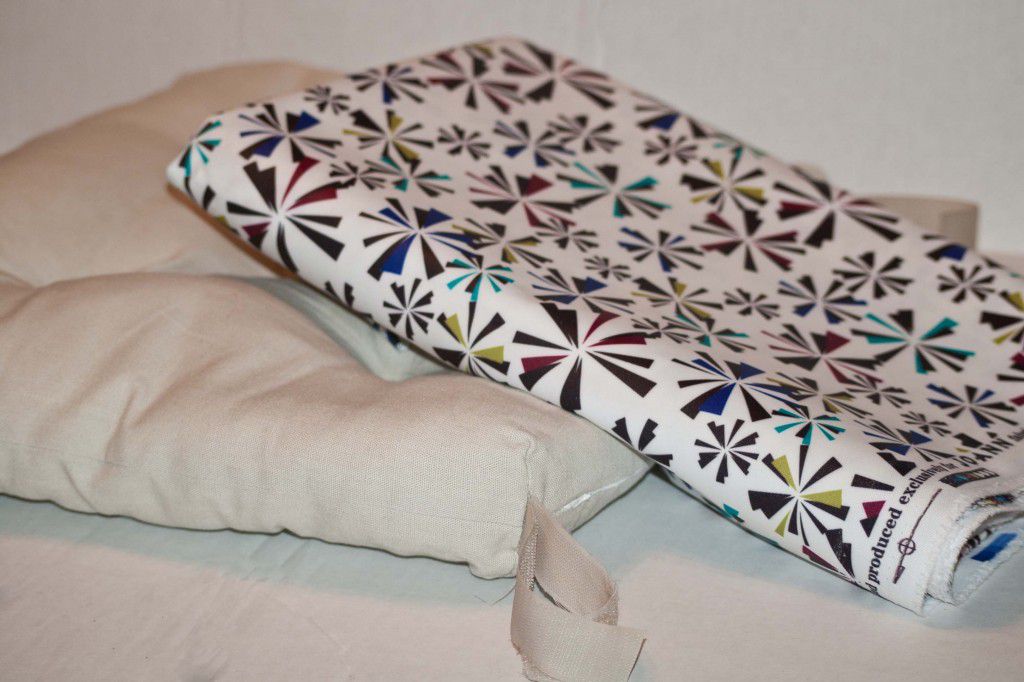
Supplies
1 yard of Laminated Fabric (Makes 4)
1 yard of Oilcloth (anything that has good friction when pressure is applied)
Walking Foot or Roller Foot or Non-Stick Foot
Wonder Clips/Bobby pins/Paper clips
Quilting Option
1 yard of Batting
Tip: NO pins allowed. None. Nada. ZIP! Instead, use Wonder Clips, bobby pins, or paper clips.
Step 1 Cutting and Measuring
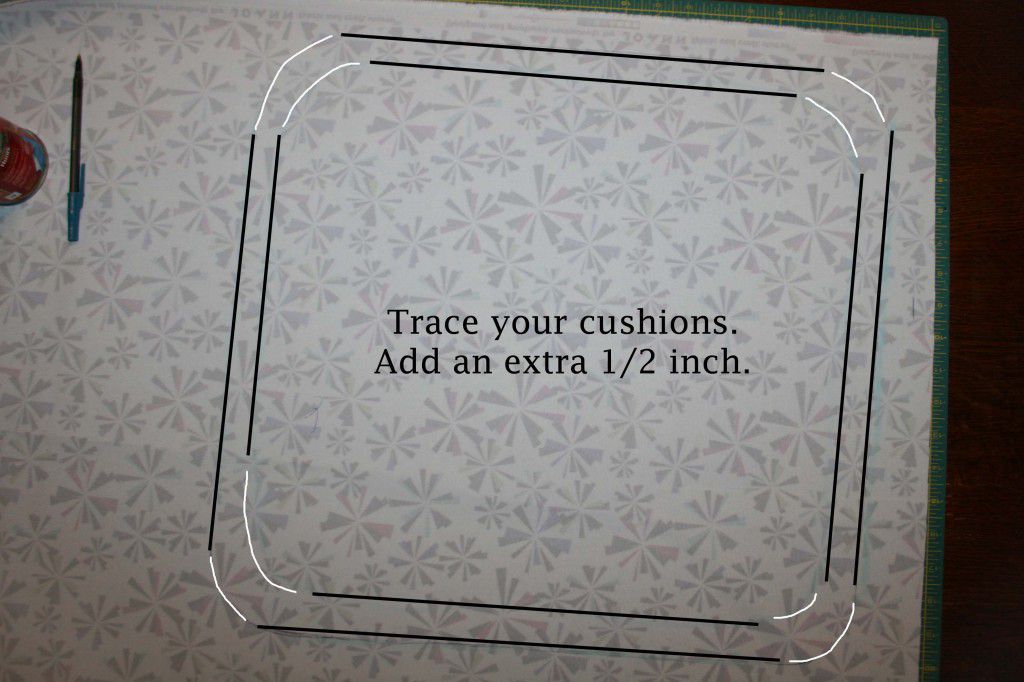
It doesn't get much easier than this. Simply trace your cushion on the fabric. Add an extra 1/2 inch seam around all sides. You can do this with each piece or make a paper pattern with some old newspapers.
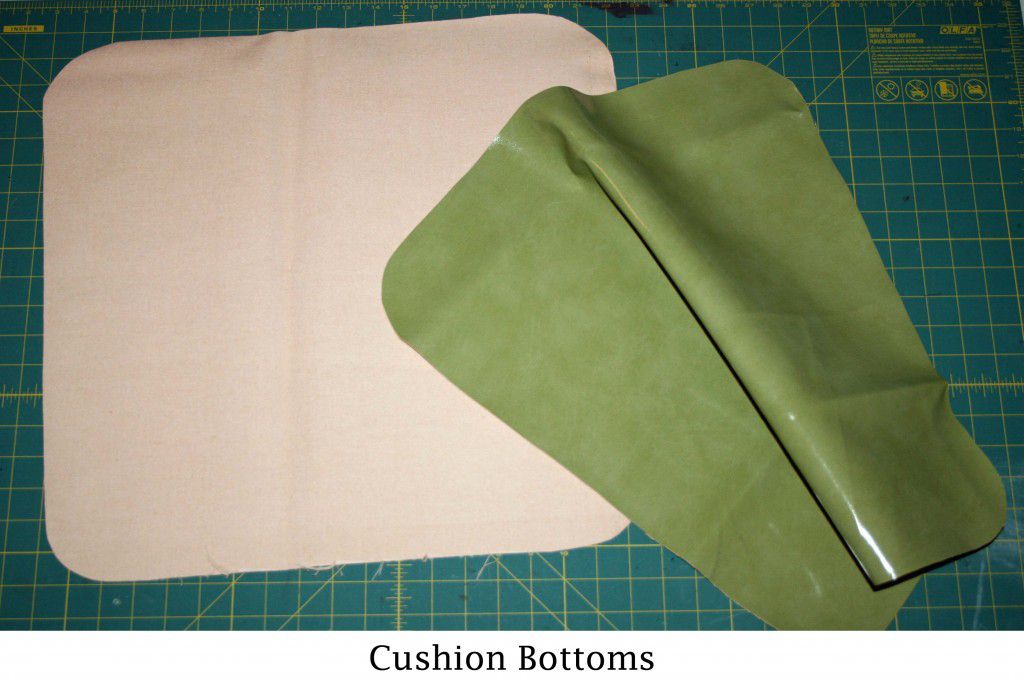
Each cushion needs one top piece of the printed laminate and 1 bottom piece of the pseudo oilcloth.
Step 2 Quilting
If you're not quilting, skip ahead to Step 3.
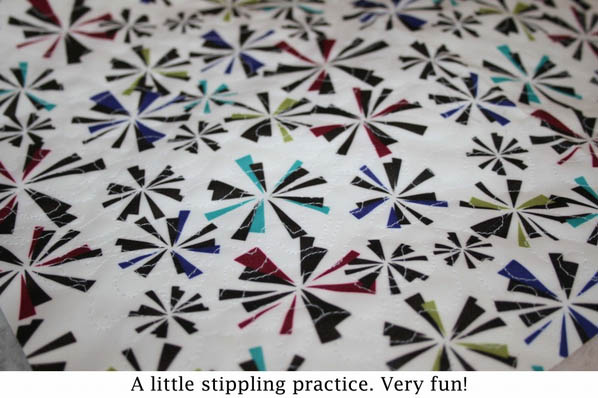
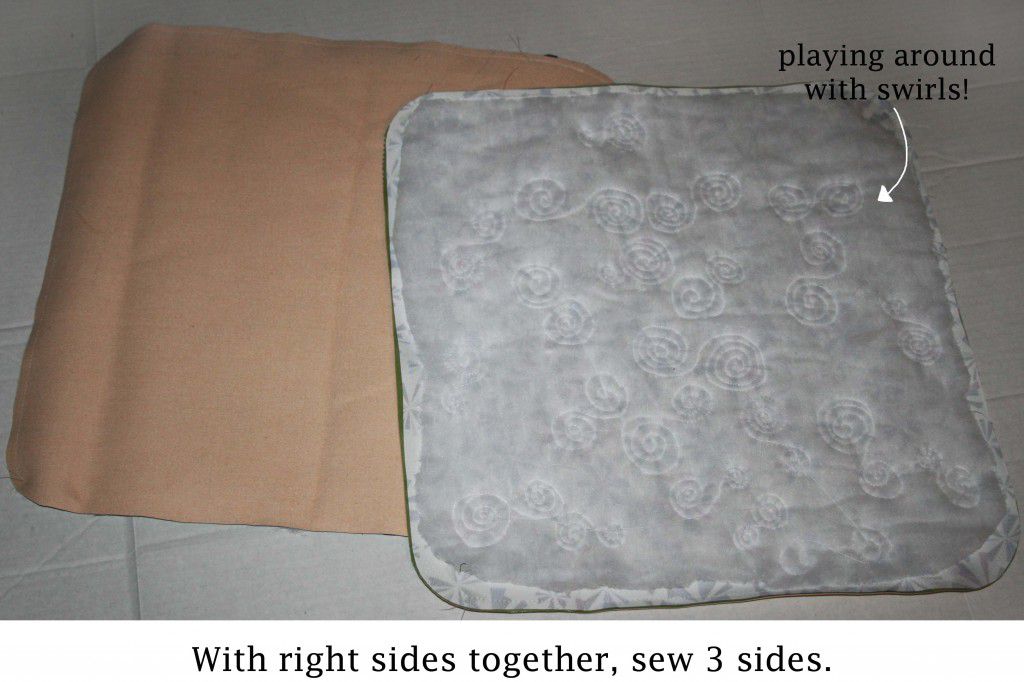
This is a great way to practice free motion quilting. The print is so bold that any uneven or asymmetrical stitches aren't noticeable. I decided to practice stippling and making swirls. Personally, the stippling was so much fun! Honestly, I found it quite enjoyable and relaxing.
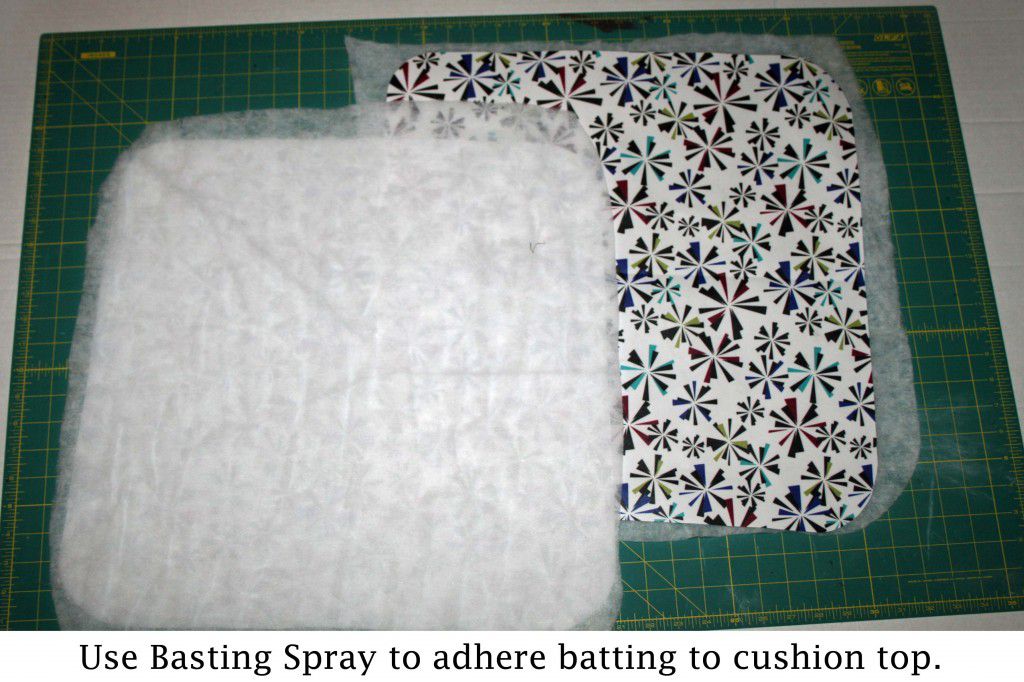
Cut out a piece of batting slightly larger than the cushion top. Use some basting spray to adhere the top piece to the batting, right side up.
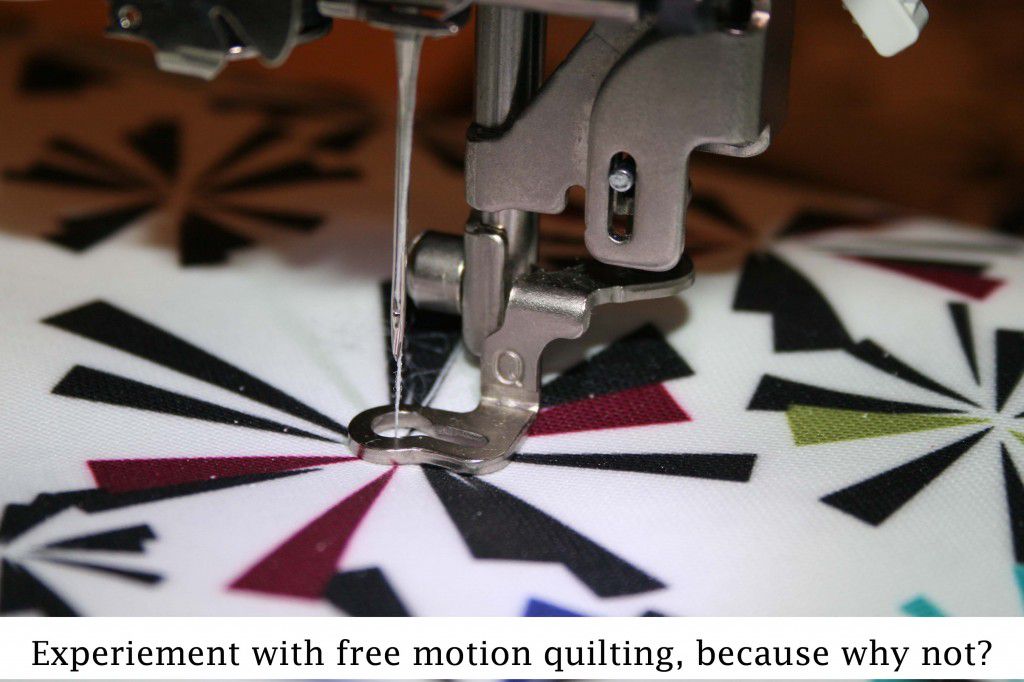
Attach a quilting needle and embroidery/darning foot. Lower your feet dogs and select a free motion stitch. Starting in the middle, place one hand on each side of the foot and maneuver your fabric in swirl/curvy motions.
The idea is not to have any lines cross over, but if this is your first time, don't sweat it. Just get use to the feel of free motion sewing. I like to think of stippling as adult scribbling; long curvy lines meant to appear random but intentionally placed.
Did you play around with free motion on all of your cushions? I suggest using the most durable thread you have. After all, children will be sitting, standing, and squirming all over your hard work. Ah, children. Such a blessing.
Step 3 Piecing Together
With right sides together, sew the bottom and top piece together using a 1/4 inch seam. This will give you a little wiggle room to slide on the cover. You will only be sewing 3 edges. Leave one side open.
Step 4 Hem the open end
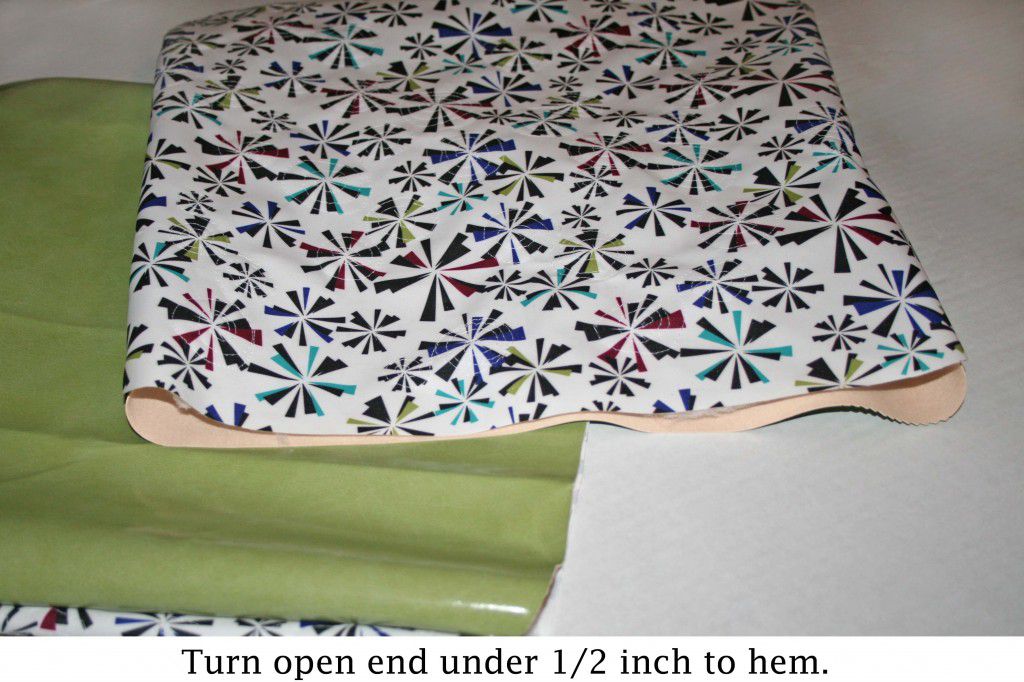
The open end needs to be turned under 1/2 inch and sewn down. Since the fabric won't fray, you only have to turn it under once.
Step 5 Adding Velcro
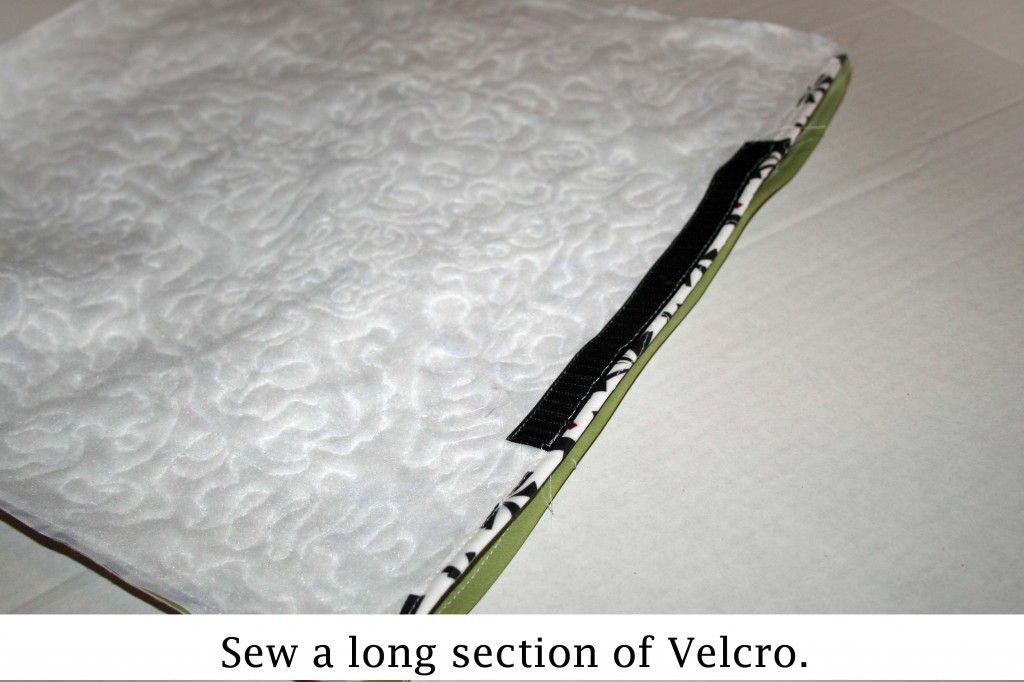
Sew a long strip of Velcro in the center of the open end. It looks best if sewn around the entire rectangle shape, opposed to one long stitch down the middle.
Step Slip it On!
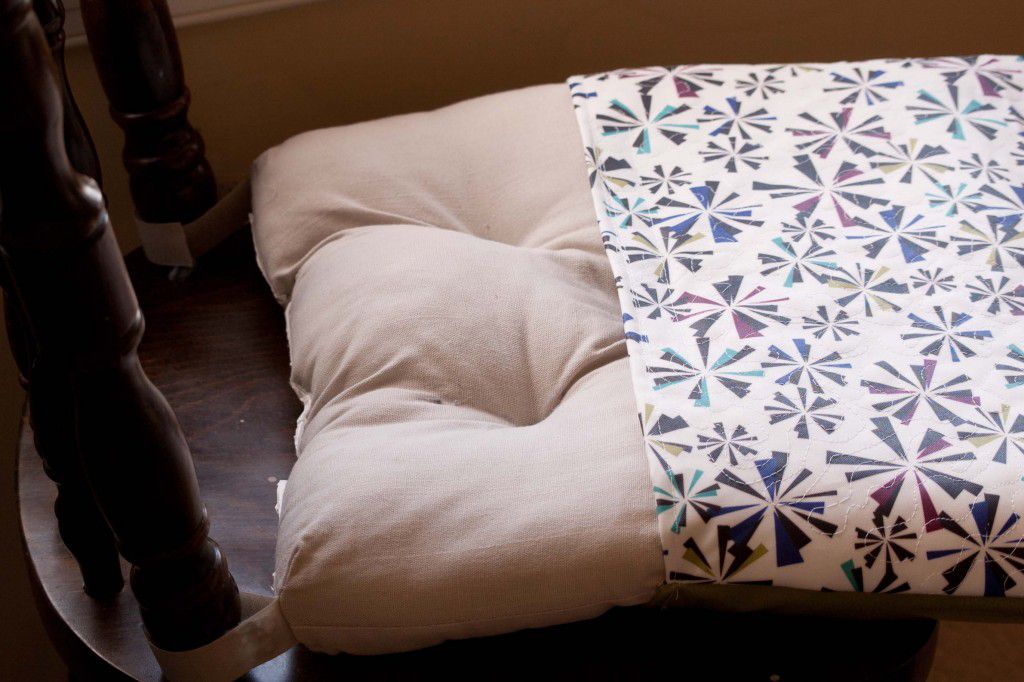
Viola! Time to test out your cushions.
To wash the cushion top, simply wipe down with some Clorox. The bottom can be cleaned with warm soap and water. I've already had to wipe up chocolate milk, paste, paint, and various other disgusting substances. Good luck!


